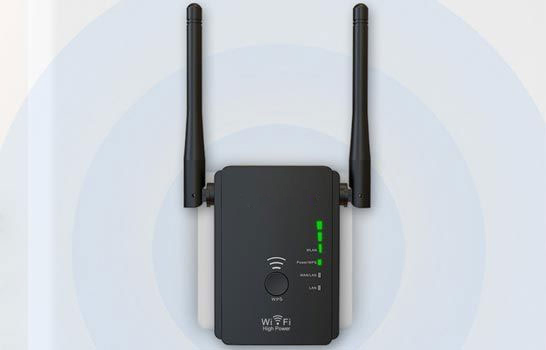
Wavlink Extender Not Working
Live Chat
Live Chat with our experts & get real-time answers to all your queries.
Chat Now
Though the Wavlink extender comes with easy-to-use features, through which you can enjoy the extended network hassle-free. But, in any case, if you get an error like the Wavlink extender not working out of the blue, the situation might worsen. Also, it can be a daunting task to resolve it, if you are unable to recognize the causes. So, utilize these instructions to the network that will help you to get the error fixed for sure.
Check Network Configured Settings
The foremost and primary step here is to examine the extender’s configured settings. As there must not be any fault in the extender’s details that you used while doing the setup process. So, verify the extender’s web and IP address through which you accessed the web-based setup page. Also, check the username and password of the network and note down the latest ones if you changed them earlier.
More than that, access the extender’s wireless advanced settings on the web management portal. Check the extender’s advanced settings which include the bandwidth channels, network password, and frequency bands. Do some changes in these settings if required, and the Wavlink WiFi range extender not working issue will resolve after doing this.
Reboot The Wavlink Extender
If the Wavlink extender not working error still showing on your device’s display, then power cycle the extender once. Giving some rest to the extender to cool down its heating can help you to get things clear. Meanwhile, check the extender’s power plug and power ports and ensure there is an uninterrupted electricity supply to the extender. Try using another power outlet this time and check the extender’s power light and it works as well.
Verify The Signal Strength
In this case, test the signal strength and stability of the extender and the router. The far distance between them can be a cause behind the Wavlink extender not working issue. Another reason can be the extender is getting in touch with metallic and other electrical appliances which are absorbing signals. So, choose the optimal location of the extender and it must be placed in an area where there is minimal interference. Instead, try moving the extender closer to the router and check whether the Wavlink extender not connecting to internet issue is fixed or not.
Update The Firmware Of The Extender
In this process, make sure there is the latest firmware version on which your extender is currently running. If it is not up-to-date it can be causing connection and compatibility issues in the extender. So, check the manufacturer’s website to see the firmware updates availability and choose the file according to your extender model.
While doing this process, disconnect other devices from the network except for the PC and save the latest file on it. Later, carry out the updating process by visiting the same page on the browser. Also you must do this process frequently to prevent the Wavlink WiFi repeater not working.
Reset The Wavlink Extender
The other foolproof solution to getting the Wavlink extender not working error clear is to configure it again after resetting it. You can perform this process in two different ways, on the web management portal or by using the reset button.
Factory Default On Web
To do this, access the extender’s web-based management portal and go to its wireless settings. Then, look for the Factory Default option and click on this button. But, before doing that, take and note down the basic details that you will require to use in the configuration process. Almost after 10 minutes, the Wavlink extender will become in its actual state after completing the process.
Press The Reset Button
On the contrary, you can push and hold the reset button for a few seconds to do this process. Locate the button on the extender and check its LED as well. Press the button till the light starts blinking. Wait for some time as this process will consume a couple of minutes. After resetting it, the extender will start working optimally as you do the setup process.
Consideration Points For Setup
Equally important to discard the configured settings, and keep in mind to consider these useful points while setting up the Wavlink extender. Place the extender closer to the router for the configuration process, later you can move it to a different location by keeping it within the router’s range. Use the extender’s information accurately and faultlessly to avoid difficulty in the process. Lastly, try to make wired connections rather than wireless ones for strong connectivity.
Thus, with the help of these troubleshooting tips, you will surely be successful in removing the Wavlink extender not working error. If you seek more help related to this situation, get in touch with our Technical Experts immediately.
Common Wavlink Extender Setups
Some Issues You Might Face
If you are facing any issues then please contact us, and we will be happy to help you.