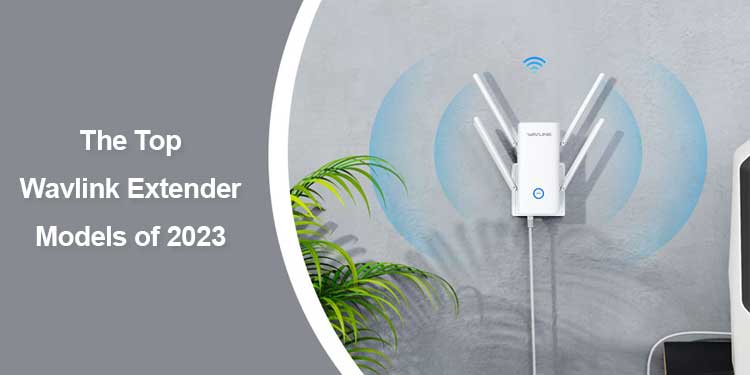
There are many types of wavlink extender models in the market. But in this article, we will tell you the top Wavlink extender models of 2023. So read this page carefully, without skipping any step.
- The Wavlink AC1200 Outdoor WiFi Range Extender.
- Wavlink AC2100 Extender.
- Wavlink AC750 Range Extender.
Note: The login and setup process of these three top Wavlink extenders 2023 models is the same.
Features Of Wavlink Extender Device
- It eliminates all the areas where you face slow internet speed.
- The configuration process of this Wavlink WiFi extender is so simple.
- It supports 2.4GHz and 5GHz dual frequency bands.
- You can easily and quickly connect this Wavlink extender with any host router.
- WiFi extender supports the 1200Mbps speed in both 2.4GHz and 5GHz frequency bands.
How To Login Into Wavlink WiFi Range Extender
- First, locate the power plug of your Wavlink extender in a power socket.
- By the wired method, you will quickly do the connection.
- After that, an ethernet cable connects the extender to the computer.
- Next, open the search engine and enter the IP address 192.168.10.1 in the finding bar.
- Now, select your Wavlink extender model number and fill in the credentials which are shown on the display.
- Hence, now you will successfully do the Wavlink extender login process
How To Configure Wavlink Extender Via WPS Method:
For the setup process of the Wavlink extender WPS method is a very easiest way to connect the extender to the router.
Note: Before starting the WPS method process make sure your existing router must have the WPS button. In case your router does not support the WPS button then don’t waste your time on this method. We suggest you try another method.
- First, locate the Wavlink extender power plug in an electrical socket.
- Make sure your extender must be located near the host router.
- Now, push the WPS button of your existing router.
- After that, in two minutes press the WPS button of your main router.
- Now, you can see the solid blue LED on both the extender and router gadget.
- Therefore, it means your extender and router are successfully linked with each other.
Configure Wavlink Extender By AP Mode:
- Initially, join one end of the ethernet wire to the extender LAN port.
- After that, connect the remaining end of the ethernet wire to an existing router LAN port.
- Next, launch an updated navigation and enter the web address wifi.wavlink.com in the location bar.
- Further, click on the AP mode option.
- Now, for an access point mode, create an SSID and security password.
- Lately, observe and follow all the on-screen instructions and do the setup process.
Setup Wavlink WiFi Extender- By An Ethernet Cable
- First, connect an ethernet wire to the extender and router LAN port.
- Make sure your extender must be linked to a computer or laptop.
- Now, open a web browser and enter the web address wifi.wavlink.com web address in the URL bar for the further installation process of the Wavlink extender.
- Moreover, take out an extension from the power cord and locate your extender at the desired location to get high internet speed.
Issues During And After Wavlink Extender Setup
- The internet connection is unable to work perfectly as it should.
- Errors occur due to more distance between the extender and the router.
- The Wavlink extender fails to get the WiFi signal from an existing router.
- The power plug of the Wavlink extender does not enter perfectly into an electrical socket.
- Due to the coming red light in the Wavlink extender.
How To Fix All These Extender Issues:
- First, you will need to check the conditions of all Wavlink extender LEDs.
- Try to power cycle your Wavlink extender device.
- Remove all those extra gadgets which connect to your Wavlink extender network.
- Verify the gap between the extender and router device.
- Try to use a new power socket and an upgraded web browser.
After trying these tips if the Wavlink extender issue is not solved then try the below additional tips to fix them.
Restart Wavlink Extender Device:
- First, take out the plug of the extender and router from the power socket and give them some rest.
- Now, check whether your device is overheating or not.
- Further, reconnect your extender and router and also attach the gadget to the network.
Hence, after doing this method we hope your Wavlink extender issue is now solved. If not, try other solution tips.
Check All Network Cable Connections:
Many of the time people can’t see the cable connection but this is the major reason why you can face trouble with the Wavlink extender. When the red light starts blinking in your Wavlink extender then it can damage all the cable connections. So, then we suggest you check all the cable that links to the extender. In case, you see any damaged wire then replace it with a new one. Also, verify that the cable must be attached to the right port of both the extender and router device.
Swap Wavlink WiFi Extender Placement:
Due to improper placement of the Wavlink extender, you can face trouble with the Wavlink extender device. Do not locate your extender near metal or electronic gadgets because these appliances absorb the WiFi signal which comes from an existing router or Wavlink extender.
Improve Extender Internet Connection Plan
You can also fix an extender issue by improving the Wavlink extender internet connection plan. For doing this you will need to contact an internet service provider because he can improve the internet connection plan in less time. Hence, your Wavlink WiFi range extender issue is now solved.
Upgrade Wavlink Extender Firmware:
- First, open a web browser on a Wi-Fi-containing device.
- Now, you will need to enter the web address of the Wavlink extender in a web address.
- Next, the web management page will open up on your screen.
- Further, filling in all the details which are shown on the web management page will open up on your display.
- After that, select an administration option and then pick the software upgrade option.
- In the end, wait for a short while to download the Latest firmware file of the laptop and computer.
Reset Wavlink WiFi Range Extender
The reset process of the Wavlink WiFi range extender is the last method to fix the issue.
- Initially, take a paperclip or hairpin.
- Now, insert a paperclip or hairpin in the reset hole button, which is located on the back side of the extender.
- Further, you can see all the LEDs of the Wavlink extender will turn off.
- As a result, it means your extender device is now completely reset.
Note: After the reset process you will need to do the Wavlink extender setup process of your device again.
After the study of this full page, now you would be able to know the top Wavlink extender models of 2023, the login and setup process, and troubleshooting tips for Wavlink extender issues. In case, after trying the above troubleshooting tips your Wavlink extender issue is not solved then try to contact our Wavlink customer service team. It will assist you in every step to fix the extender problem in less time.