Desire to get a stable internet connection at your home? Wish to set up a wavlink router? Don’t know how to proceed with the configuration? If yes then you reached the right article. On this page we furnish the information about how you can do the wavlink router setup using wifi.wavlink.com. Gather the step by step information to complete the configuration. Furthermore, we also specify how you can install the hardware of the device. In addition to this, we mention the prerequisite as well.
Wavlink Router Setup Prerequisite
Easily initiate the router setup process if you have the following items. In case, any of the items is missing then you might experience issues in processing the setup. Check the list here:
- Wavlink router
- Power Adapter
- Electric power outlet
- Host modem
- Working internet
- Ethernet cable
- Computer/ laptop
After gathering all the above specified items you can initiate the installation & setup of the wavlink router using wifi.wavlink.com.
Wavlink Router Installation
Installation of the hardware is a very important step you have to perform before setup. Following are the steps involved in the installation of wavlink router:
- Installation of the wavlink router begins with unboxing of the device. Remove the packings and take the device out of the box with utmost care.
- After unboxing you have to look for the placement of the router.
- Place the device and take the ethernet cable to connect with the modem.
- Inject the ethernet one end into the modem and other one in the router device.
- Now plug-in the router device into the power using the power adapter.
- Inject the power adapter pin into the power port and connect it with the electric power outlet.
- Wait for the LED to get stable and then you can embark on the router setup process.
Setup Process Of Router Using Web
Setup process of the router includes the following steps which you have to follow after installation.
- The Wavlink Router Setup process begins with the connection between your client device and router.
- Connect the device by injecting the ethernet cable or by accessing the wireless network through default details.
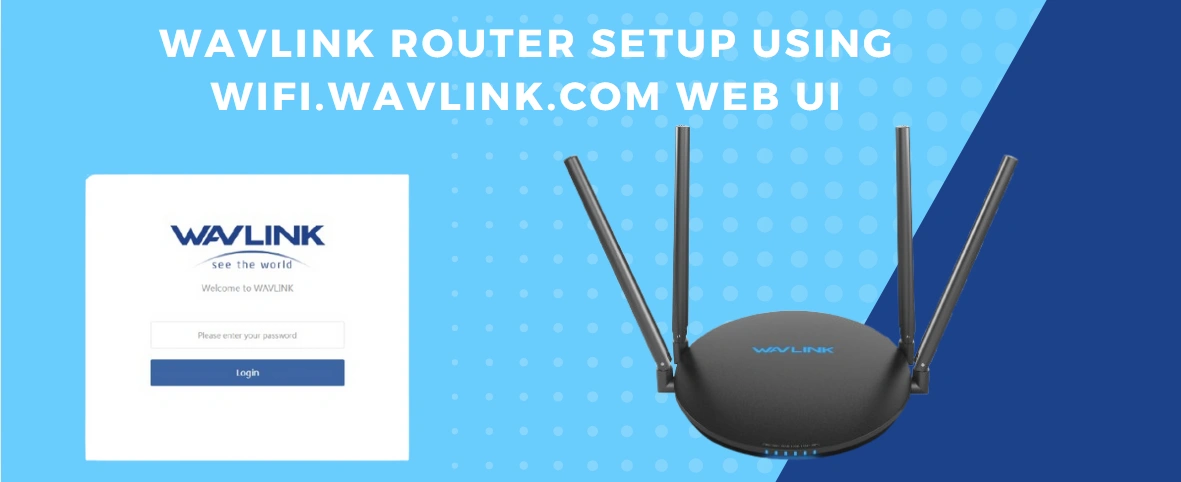
- Next you have to mention wifi.wavlink.com in the URL bar of any browser you have installed.
- Further you have to proceed by mentioning the default admin account details to get access. Default password is admin & leave the username field blank.
- Hit on the login option and you can proceed ahead by following the on screen guide.
- Create a SSID for your router’s network and also a password.
- While creating passwords make sure to use a secured combination of alphabet, numeric and special character.
- After creating the router’s wireless network password you have to make changes in the admin password as well.
- Proceed further and configure the other settings including guest network setup, parental control, etc.
- Also you have to check that the device firmware is updated or not.
- Then you have to submit the changes by clicking on the finalize option.
- Lastly you need to test the newly created network using a wireless enabled device.
Final Words
Finally, we can say that wavlink router setup using wifi.wavlink.com is a smooth and easy process. Performing the setup without technical expertise is not so difficult only if you proceed with the above specified guide. In case you need technical help to complete the wavlink router setup then our support team is available 24/7. You can connect them for help on the given number below. Call us and get a solution to the issue you are facing instantly.