Floundering with weak WiFi signals or internet dead zones in your home or office? You’re not alone. numerous druggies face connectivity issues due to limited router range or poor placement. Fortunately, Wavlink offers a result with its range of routers and extenders designed for fast pets and extended content. In this companion, we’ll walk you through both the Wavlink router setup and Wavlink extender setup, so you can enjoy strong, stable WiFi in every corner of your space.
Wavlink is a trusted name in the networking world, known for its high- performance bias that offer ease of use, versatility, and dependable signal strength. Whether you are setting up a router to produce a new network or installing a range extender to exclude weak spots, Wavlink provides straightforward results for all your connectivity needs.
Step by Step Wavlink Router Setup
The Wavlink router setup process is stoner-friendly and doesn’t bear advanced specialized knowledge. Then is how to get started
Unbox Your Router
Remove all factors from the box including the router, power appendage, and Ethernet string.
Power Up the Device
Plug the router into a power outlet using the handed appendage. stay for the LED lights to stabilize.
Connect to the Internet
Use a standard Ethernet cable to link your modem with the router’s WAN (Internet) port.
Access the Web Interface
On your phone or computer, open any browser and go to http://192.168.10.1 or http://wifi.wavlink.com. Log in with the dereliction username and word (generally both are “admin”).
Customize Network Settings
Set your network name( SSID) and WiFi word. Choose the operating mode that suits your terrain — Router, WISP, or AP mode.
Save and Reboot
Once all settings are configured, save your changes and renew the router. You’re now ready to connect your bias to the network.
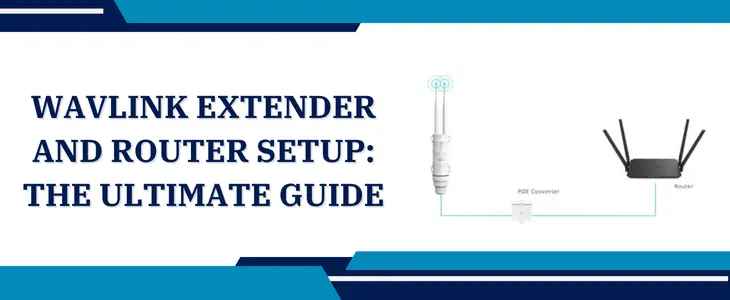
Step by Step Wavlink Extender Setup
It’s time to consider the Wavlink extender setup, If your WiFi signal does n’t reach every corner of your home. Then is how to get it up and running
Plug in the Extender
Choose a position that’s roughly interior between your router and the area with a weak signal. Connect the extender to a socket and wait for the lights to stop blinking and remain steady..
Connect to the Extender
On your device (PC, phone, or tablet), look for a WiFi network named commodity like “Wavlink- Ext” and connect to it.
Access the Setup Page
Open your web surfer and go to http://192.168.10.1. IP to open the admin panel. Log in using the dereliction credentials. As you submit the information you will get access to the extender device.
Choose Repeater Mode
From the setup menu, elect “ Repeater ” or “ Range Extender ” mode. Also, select your main Wi-Fi network and enter the correct password to link the extender to it
Save and Reboot
Save your settings and allow the extender to reboot. Once complete, the extended network should be ready to use.
After completing the wavlink extender setup, you’ll notice a significant enhancement in signal strength, especially in preliminarily unobtainable zones.
Conclusion
A dependable internet connection isn’t just a luxury, it’s a necessity. With the proper Wavlink router setup and Wavlink extender setup, you can ensure presto, stable, and secure connectivity throughout your entire home or office. Whether you are gaming, streaming, working, or browsing, Wavlink has your wireless requirements covered. You can easily connect our tech experts for help if required. We’re only a call away, ready to assist you anytime. Just make a call or message us in the live chat section. Don’t think too much! Just Call Now!