Setting up wifi range extenders from Wavlink is extremely easy. After the successful setup, the users experience better signal transmission, wider coverage, high speeds and zero connectivity issues. Users who want to learn about 192.168.10.1 wifi repeater setup steps, can follow this guide. Here you’ll get access to step by step and easy to understand setup details. Remember that for Wavlink wifi repeater setup you need to have access to the router and its network details like username and password. In case you do not remember the password of your existing wifi network, then first reset the password through reverting the router to its factory settings and redo its configuration. After that you can easily perform the 192.168.10.1 wifi repeater setup.
Installation Steps
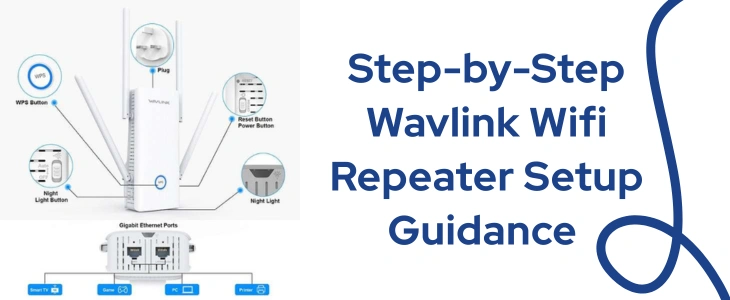
First for a smooth conduct of setup steps, unbox the package contents and bring them to the same area where the router is. Now begin with the further steps:
✓ Activate The Repeater
To start off, first carefully place the wifi repeater in close proximity to the host router. For initiating smooth 192.168.10.1 wifi repeater setup, do not keep any electrical or metal things nearby to the repeater. After the placement, turn on the range extender. Make use of the given power adapter for the same. Once done, move to the next step after the power LED stabilizes.
✓ Attach Smart Device To The Repeater
Time to use the wifi enabled and up-to-date smart device for 192.168.10.1 wifi repeater setup. To use the same, first build its connection to the repeater. There are two methods for the same. Either use the default network details as are scribed on the repeater’s bottom panel or connect directly through an Ethernet cable. Experts recommend using the second option as it is more reliable, stable and hassle-free.
✓ Begin The Web Browser Session
After connecting to the smart device, you need to open an internet browser. Thereafter head to the address field. Now fill 192.168.10.1 in it. As you do so, review the web address once again and tap enter key. This will lead you to the repeater’s admin page. If the page doesn’t load, then try a web address instead. It is wifi.wavlink.com. If still the issue persists then look for the pending firmware updates of the chosen browser. If found, install them immediately as this might be blocking the way towards the repeater’s admin panel. Finally, when you get access to the admin page, fill up the username and password. Use admin for both blanks if it has not been altered before by you. If customized then use the new details for logging in.
✓ Finish 192.168.10.1 Wifi Repeater Setup
As you now have access to the main setup page, select the network name and input its accurate password. Thereafter you get prompts on the screen. You need to follow them one by one and complete the setup. As the setup finishes, do not forget to test the connectivity.
✓ Relocate For Wider Coverage
As during the initial setup the repeater is placed close to the router, so it’s important that after the setup you reposition it strategically for wider coverage. Place it in between the area where your router is kept and the area where you were facing connectivity issues. The router’s signals should be at least 50 percent in your chosen area.