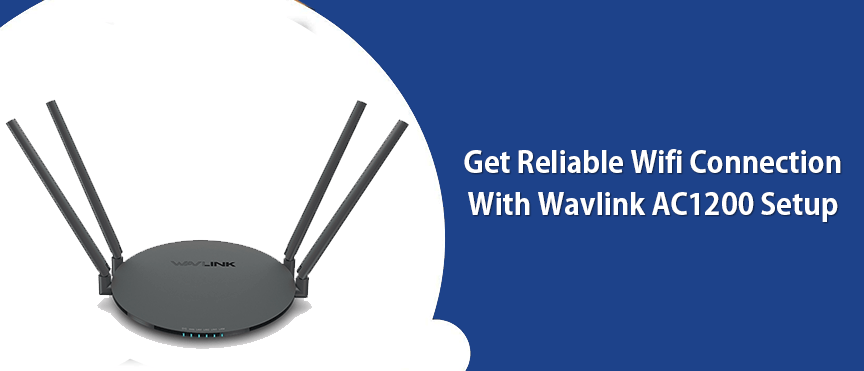
Tried setting up the Wavlink ac1200 router but couldn’t make it through? If the answer to this question is yes, you need not panic. As we are here with the simple yet quick step-by-step guide on Wavlink ac1200 setup.
Reset For A Fresh Setup
In case you are trying the Wavlink ac1200 setup steps for the very first time, then you can skip the reset and jump on to the installation steps directly. Whereas the users who have given it a shot once but couldn’t complete the setup successfully need to first reset the router. Otherwise the setup may fail. To avoid this condition, the reset is necessary. Therefore, first fetch the paper clip. Ensure the router is active. Now insert the pin into a reset hole. Push and hold on for not less than six to eight seconds. Release it. The reset completes.
What Users Need For The Wavlink AC1200 Setup?
For the setup the requirements are:
Setup Steps
The Wavlink AC1200 setup steps are easy and very direct. There are no such complications that users might encounter during the setup.
Connect The Hardware
First position the Wavlink AC1200 router in the same area as your modem. Now withdraw the electrical supply from the modem. Thereafter fetch the ethernet cable. Using it connect to the internet port of the AC1200. Slip in the second end into a modem. Replug the modem. Let it activate.
Moving further, fetch the power adapter. Using it, activate the Wavlink AC1200 setup. Let it boot up completely. As it boots up, jump on to the next step.
Connect To The Wavlink Router
Now fetch the smart gadget, as it is essential for establishing a connection. For connecting, visit wifi settings. Turn on wifi. From the list, choose the Wavlink AC1200 network. Tap on Connect. If it prompts you to enter password, check the product label or user manual for the same.
Use Internet Browser
Moving further, open any internet browser. Jump to the address bar. In it fill up wifi.wavlink.com. Press Enter key. Not working? Try via 192.168.10.1.
Now on your screen a little window pops up asking for the username and security key. Fill it up carefully. Tap on Login. This crucial information is all available in the quick user guide. Therefore it’s recommended to always keep the manual by your side during the Wavlink AC1200 setup.
Lastly, Follow The Prompts.
For connecting to the internet, simply follow the on-screen directions one by one. Here, users can also make other necessary changes like to the default password, updating firmware, enabling security and much more. As you do so, do not forget to Save the changes. Finally the router reboots and as it restarts the setup completes.
For any query, assistance or issues do not hesitate to connect with the experts.