Wavlink AC1200 is a wifi range extender which is suitable for both home and office environments. It operates on dual frequency bands thus users get reliable coverage and high speed wifi connectivity in every corner of their abode. Moreover the Wavlink ac1200 setup process is extremely easy, because of WPS one push connect button. This wifi repeater can easily remove all the dead zones and other connectivity issues. It works with every standard router. Additionally with the smart LED light indicators, users can easily get to know about its exact working.
Perform Wavlink AC1200 Setup With The Help Of Internet Browser
To perform the setup smoothly first unbox and collect all the package contents. Apart from it the requirements are very few. Like a smart gadget and wifi details of your existing router’s network.
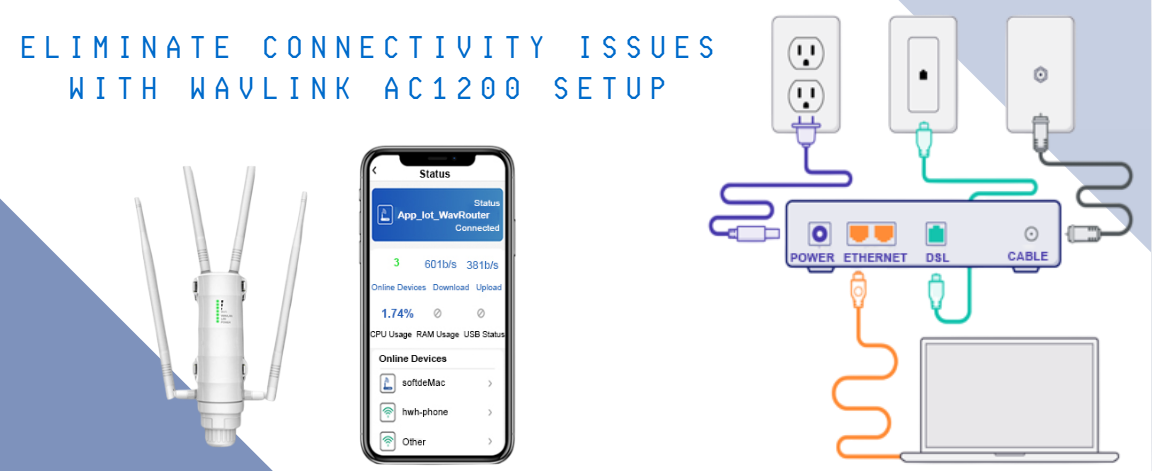
To begin with, first fetch the Wavlink ac1200 repeater and place it near to the existing router. Thereafter using the ethernet wire, build a connection between the host router and the Wavlink ac1200 setup. Moving further with the help of the supplied power adapter, activate the wifi repeater. Turn on the entire hardware setup. Wait until the power indicator on the Wavlink ac1200 solidifies.
Now grab a smart gadget and connect it to the Wavlink’s network. The details for it are written on the back panel of Wavlink ac1200 extender. Otherwise make use of an ethernet wire and connect the smart gadget to the Wavlink extender’s port.
As the connection builds, in the next step for the Wavlink ac1200 setup you require an internet browser. Open it and move to its address bar. In it carefully type 192.168.10.1. Press Enter. If a pop appears saying this page is not available, then access the page by typing in www.wavlink.com. Also make sure the browser’s caches and cookies file is clear and the browser is running on its latest version. Otherwise the issue might appear constantly.
Finally fill up the login credentials, the default is set to admin. Moving further, agree to terms and conditions, also choose your preferred language. Thus select the network name of your existing router and input its password to finish the Wavlink ac1200 setup.
No Wiring Hassle With WPS Method
Users who want a simplified setup process that doesn’t use any wires and can be done within a few minutes, then WPS method is the saviour.
Users need to perform the Wavlink ac1200 setup nearby to the host router. Thus using the power adapter, activate the ac1200 extender in the same room as the host router.
Next, using the fingertips gently push the WPS knob first on the host router and then within the time span of two minutes, do the same activity on the Wavlink ac1200 extender as well.
Finally the WPS LED starts to blink blue thus indicating the initiation of communication between the gadgets. As and when this WPS LED turns solid blue, it depicts the connection is successful. Thus, unplug the Wavlink ac1200 setup and replug into a strategic area which is halfway from the host router and the problematic area.