Wavlink devices are widely used to strengthen the network. Whether you are a student or a working professional, a strong and reliable network is needed. A single device can not provide strong signals in every corner here you can take help of wavlink repeater devices.Setting up a Wavlink repeater with your home network will enhance and extend your WiFi coverage. After performing 192.168.10.1 WiFi Repeater Setup you will no longer face network trouble. Confused? Simply scroll down and read the article carefully, below you will find answers to every important question including setup process.
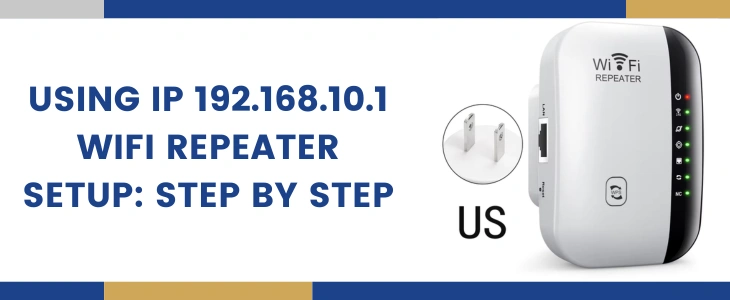
192.168.10.1 WiFi Repeater Setup Steps
192.168.10.1 WiFi Repeater Setup procedure involve following simple steps:
- Unbox your repeater, verify that the box contains all the important components including the power adapter.
- Next begin searching for a placement next to the router, to put the device.
- Putting the repeater proxy to the router will ensure a stable connection while setting up and easy configuration.
- Now connect the repeater with power to turn it on. This booting process may take a while. With the help of the power adapter, link the repeater with the power.
- After turning on, connect your computer/ laptop to the repeater’s network using ethernet or wireless.
- In the computer/ laptop you have to launch a browser to access the IP.
- Open the 192.168.10.1 WiFi Repeater Setup page on the screen with the help of IP.
- Instead of IP, web address can also be used to reach out the login interface
- Now you should use the default login details to enter the web interface.
- Once you enter the site, first secure the interface by changing the network name and password.
- Afterwards choose the router’s SSID to connect your wavlink repeater with the internet.
- Enter the password of the router in the given space and step ahead.
- Secure the repeater’s connection by choosing a separate SSID for it.
- Also make a strong, unique yet memorable combination for password.
- Then check for the firmware update and make other significant changes in the network.
- Finish the changes by hitting on the submit button and test the network.
- Network testing is a very important step. It will help in finding an ideal location for better performance of repeaters.
Conclusion
192.168.10.1 WiFi Repeater Setup process is smooth, easy and hassle free task. Anyone can go with the process mentioned here and configure their wavlink repeater very easily. Breakdown of the process begins with the installation of the device hardware and ends with its testing. Even after following the steps guided on this page you got stuck when configuring your wavlink repeater using the 192.168.10.1 IP address then you can call our tech experts for help. Technical insight means a lot when you encounter trouble to get rid of it. Our team will guide you in troubleshooting the problem and step ahead in the setup process.