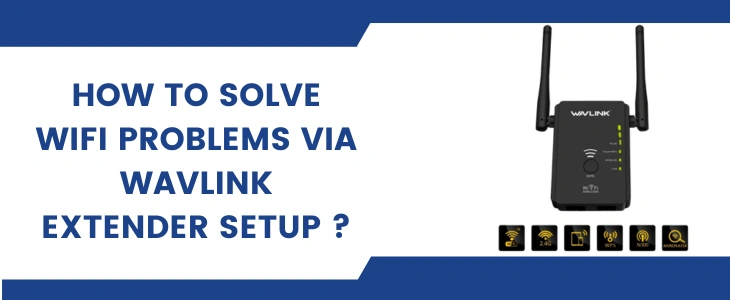
Nobody likes interruptions while they are doing any online activity especially during important work meetings or while watching their favourite online show. But connectivity problems are destined to pop up for users who are still relying on the routers for seamless wifi connectivity. No doubt routers work fine in homes with less smart devices and limited area. But when it comes to wider area coverage and seamless connectivity for multiple smart gadgets, collaborating a router with the range extender becomes crucial. When it comes to selecting a wifi range extender, one networking brand that is often trusted is Wavlink. So in this blog-post we’ll share the complete insights about the Wavlink extender setup process. So that you can enjoy uninterrupted and seamless wifi connectivity with zero dead zones and no issues of lag and buffering.
Quick Setup Using WPS Method
For quickly carrying out the Wavlink extender setup process you first need to gather a few basic requirements. These are:
Remember, if you have already tried the setup process on your own but couldn’t complete it successfully, then before you start all over again, you need to reset the range extender. For doing so, you require a straight paper clip. Now activate the signal repeater. Insert paperclip into the reset port. Knuckle it down and keep it as it is for a few seconds (8 to 9). As you release it, the Wavlink extender resets.
✓ Setup Steps
Finally, if you want to grab great experience from the Wavlink extender setup then after the setup completes go for strategic placement of the device. Place it in the open area that offers ventilation. Ideally you need to keep it at an equal distance from the router and the area where you were facing problems with the wifi. The chosen spot should receive decent signals from the router. Next up, to cancel out on any other connectivity issues, keep the signal booster away from metal and electronic components. Most common culprits are microwave, refrigerator, CCTV cameras, aluminum doors, cordless phones, bluetooth devices, baby monitors including fish tanks. After placement, turn on the Wavlink extender setup and it will automatically sync in with the router.